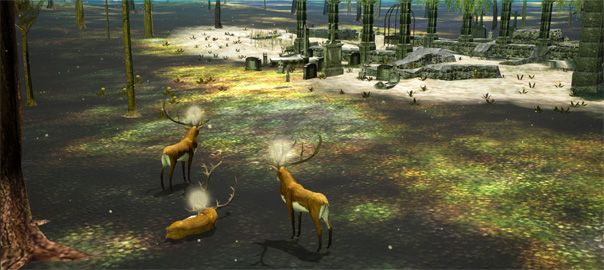
We have managed to create a dedicated server for the multiplayer functionality in The Endless Forest. A client to try this out is available to backers of the fundraising campaign (*).
The process of creating a server for a multiplayer game in Unreal Engine is severely complicated by the fact that this requires a C++ version of the project and a custom build from the source of the editor. Here’s the steps that I took to make it work (some arrived at through hours and days of trial and error).
- Do the following on a solid-state drive as many of the steps are long processes that involve much read and write activity.
- Download and install Microsoft Visual Studio 2015.
- Download the Unreal Editor source files from Github.
- Compile Unreal Editor in Visual Studio 2015.
- In game project’s Config folder, edit DefaultEngine.ini to set “r.PostProcessing.PropagateAlpha” to “0” as the default setting of “false” makes the build fail.
- Open a copy of the game project in the newly built Unreal Editor, package the game and resolve errors until the build succeeds.
- Apply the same fixes to the original project but don’t build it.
- Open the game project in the source editor and add a dummy C++ class of “None”. This will create a bunch of files and end with opening the game project in Visual Studio. Wait until Visual Studio is done parsing and scanning thousands of files.
- Close the Unreal Editor. Close Visual Studio.
- In the project’s new Source folder, create [game name]Server.Target.cs (**).
- Double click [game name].sln to open it in Visual Studio. Wait until it’s fully loaded and done scanning and parsing.
- Build the game client in Visual Studio. We will not use it. So maybe this step is redundant.
- Run Engine\Binaries\Win64\UnrealFrontend.exe and create and launch the project to create the game server. If UnrealFrontend does not exist, build it after loading UE4.sln in Visual Studio.
- Open Unreal Editor (built from source) and create a build package. Make sure all maps are included in the package settings array.
- Copy [project folder]/Binaries/Win64/[game name]Server.exe to [builds folder]/[game name]/Binaries/Win64
- Make a shortcut to the server and add “/Game/[mapname] -log” to its command line.
- Run the server and some clients to test if it all works.
- If the server complains about missing files, install the C++ runtime and copy any required DLL files to the server machine.
- After all this your 500 MB Blueprint project will have become a 16 GB C++ project. So have a lot of free disk space!
It took us two weeks to build a functioning dedicated server from a project with perfect multiplayer functionality in the regular Unreal Editor. Mostly because many of the operations take a long time and Unreal C++ project folders are huge and contain many files, making everything take long. Since testing within the editor is inconsistent, for each change one has to go through the entire cycle again. Here’s to Epic including server building in the Unreal Editor by the time we start beta-testing!
If you are a backer, thank you, and download and try out the game. We’re curious how it will fare when larger numbers of players use it.
Merry Christmas!
Happy New Year!
— Michaël Samyn.
(*) Send email to The.Endless.Forest at Tale-of-Tales if you are a backer but did not receive the download link. There’s still some major bugs (sometimes the client starts with the camera in the floor and when a player leaves, their deer body might fuse with another’s). Restarting the program usually fixes this. If automatic connection didn’t work or the connection is lost, you can try connecting again by pressing the Enter key.
(**) The text for [game name]Server.Target.cs is
using UnrealBuildTool;
using System.Collections.Generic;

[SupportedPlatforms(UnrealPlatformClass.Server)]
public class [game name]ServerTarget : TargetRules
{
       public [game name]ServerTarget(TargetInfo Target) : base(Target)
       {
        Type = TargetType.Server;
        ExtraModuleNames.Add("[game name]");
       }
}